Source: Siarhei Kuranets/Shutterstock.com
When prepping a floor for tile, you need to make sure the surface is even and level before laying tile for the strongest, most professional-looking result. Read this guide with all the info you need on how to level a subfloor and how to level tile during the installation process.
Why You Need a Level Subfloor
Your subfloor is, quite literally, the foundation of your project. Without a properly leveled one, you risk a shoddy-looking job plagued by bowing, lippage, cupping, and slanting. A level floor not only ensures a level surface free of dips and humps, but also reinforces the integrity of the flooring so that it’s strong enough to hold the tile and remains strong for years to come. A properly leveled and repaired subfloor can fix weak spots and make your floor sturdier.
Making Repairs to Uneven Subfloors
- Identify Imperfections – Before you begin, you need to figure out if your subfloor needs to be leveled at all. You can determine whether or not your subfloor needs leveling by sliding a long straight-edge along the floor throughout the room and identifying dips and valleys, noting them as you go.
- Aim for Flat, Not Perfectly Level – Remember, you don’t need to make your floor perfectly level. Often, that’s just not realistic, especially in old homes. As long as it’s flat and free of humps, dips, and hollows, it will be a great starting point for your tile installation. Remember that you can and should use a tile leveling system once the tile is laid in order to create a flush, flat surface. At the same time, don’t ignore serious slopes or dips, as this could seriously compromise the integrity of your floors. The floor should be mostly level, but don’t obsess over perfection.
- Make Repairs – You may be able to get away with making a few small repairs instead of pouring new underlayment. Use a sander and sand out any obvious issues. If the subfloor is damaged beyond repair, you may have to remove portions of the subfloor and replace it with new planks. Enlisting the help of a professional may be well worth your while in particularly rough scenarios.

Source: T.SALAMATIK/Shutterstock.com
Leveling Wood Subfloors with Self-Leveling Underlayment
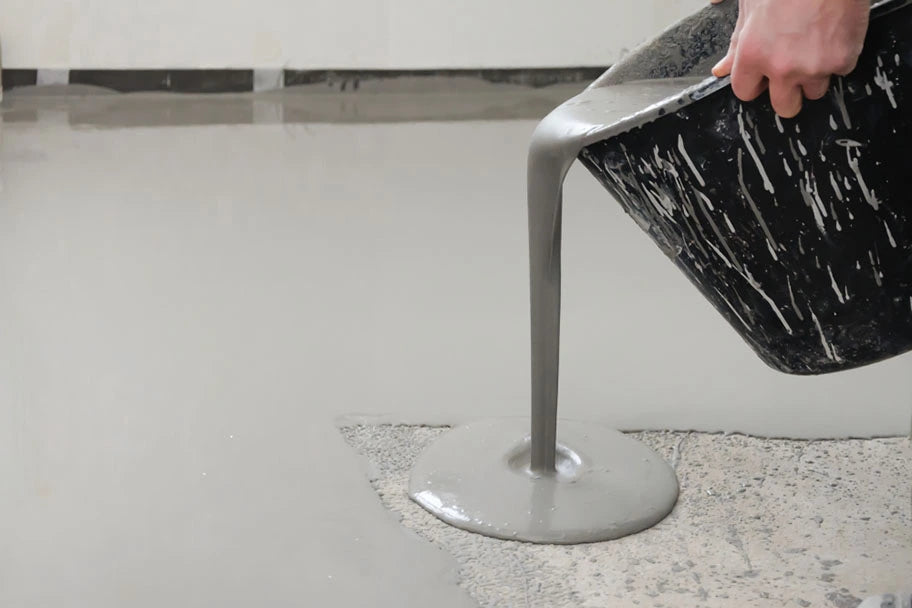
Your wood subfloor can be prepared and evened out for tile using a self-leveling underlayment. This liquid cement is poured onto the prepared subfloor where it’s able to naturally level itself without the use of any complicated tools or equipment. Note that self-leveling cement isn’t the best choice if you’re installing an in-floor heating system. Check out our video below for a quick guide to laying self-leveling cement.
- Clean and seal the floor. Start by sweeping and vacuuming the subfloor. Seal up any cracks or holes with latex caulk so you’re starting out with a clean slate.
- Prime the floor with a latex primer to ensure that it’s ready for adhesive.
- Mix the self-leveling product according to the instructions on the packaging. Note that some self-leveling products require you to use a metal lathe over the wood.
- Pour the self-leveling cement on the entire floor, spreading it as evenly as possible throughout the space. Use a spike roller or gauge rake to spread the material.
- Let dry and clean up according to the instructions on the packaging.
Leveling Your Tile the Easy Way
Now that the subfloor is perfectly level, you need to think about how you’re going to keep things smooth during installation. Using tile leveling spacers is an easy, reliable way to speed up the tile-setting process and eliminate lippage. You may also consider a leveling system, such as the Spin Doctor Tile Leveling System, which doesn’t require any tools or pliers for installation.
Doing It Right the First Time
Savvy DIY’ers and seasoned tilers alike know that you won’t end up with a professional result if you don’t start out with a solid surface. Follow these tips and level your subfloor the right way so your floors look fantastic and so you only have to do it once.

